
Introduction to the Denon DJ PRIME 4 G2
The Denon DJ PRIME 4 G2 is a four-channel, four-deck standalone DJ system powered by the Engine DJ operating system. Equipped with an eight-core processor and 4 GB of RAM, this hardware offers four times the computing power of its predecessor, allowing for native audio track separation, DMX lighting control, and simultaneous source integration via the OmniSource architecture. Follow this advanced instruction manual to configure the equipment, optimize audio flow through its 32-bit ESS Sabre HiFi converters, and master every operational tool in professional environments.
Unboxing and Initial Connections
To ensure a clean signal flow and avoid voltage spikes in the hardware, perform all physical connections with the system completely powered off and volume faders at minimum.
- Connect the power cable to the locking IEC port located on the rear panel and plug it into a stabilized power outlet.
- Connect your main monitors to the Main Out outputs using balanced XLR cables for long runs or unbalanced RCA for short distances.
- Connect booth reference monitors to the Booth Out outputs using XLR cables.
- If you need to send audio to a second room or independent space, connect an amplification system to the Zone Out output using XLR cables.
- Connect your headphones on the front panel using the 1/4-inch stereo jack or 3.5 mm mini-jack ports.
- Insert your exFAT or FAT32 formatted storage devices into the top or rear USB Type-A ports, or use the SD card slot.
- Optional: Install an internal solid-state drive (SSD) in the 2.5-inch SATA 3.0 bay located on the base of the unit for permanent mass storage.
System Configuration and Engine OS
Once physical connections are established, press the Power button. The system will load the Engine DJ interface on the 10.1-inch high-definition multitouch screen. Proceed with the core software configuration.
- Swipe down from the top edge of the touchscreen to open the quick control menu and select the gear icon to access Settings.
- Go to the Wi-Fi tab, activate the wireless receiver, select your local network, and enter the password using the virtual keyboard.
- Navigate to the About / Update tab to verify the current firmware version. If the system detects a newer version, press Update. Do not disconnect the power under any circumstances during the flashing process.
- In the Services menu, log in to the streaming platforms you use (Amazon Music Unlimited, TIDAL, Beatport, Beatsource, or SoundCloud GO+) by scanning the on-screen QR code with your smartphone camera.
- Access the Mixer tab to adjust the Crossfader curve, configure cue routing, and set attenuation levels (Talkover) for the two independent microphone inputs.
Using Multi-Zone MPCe Pads
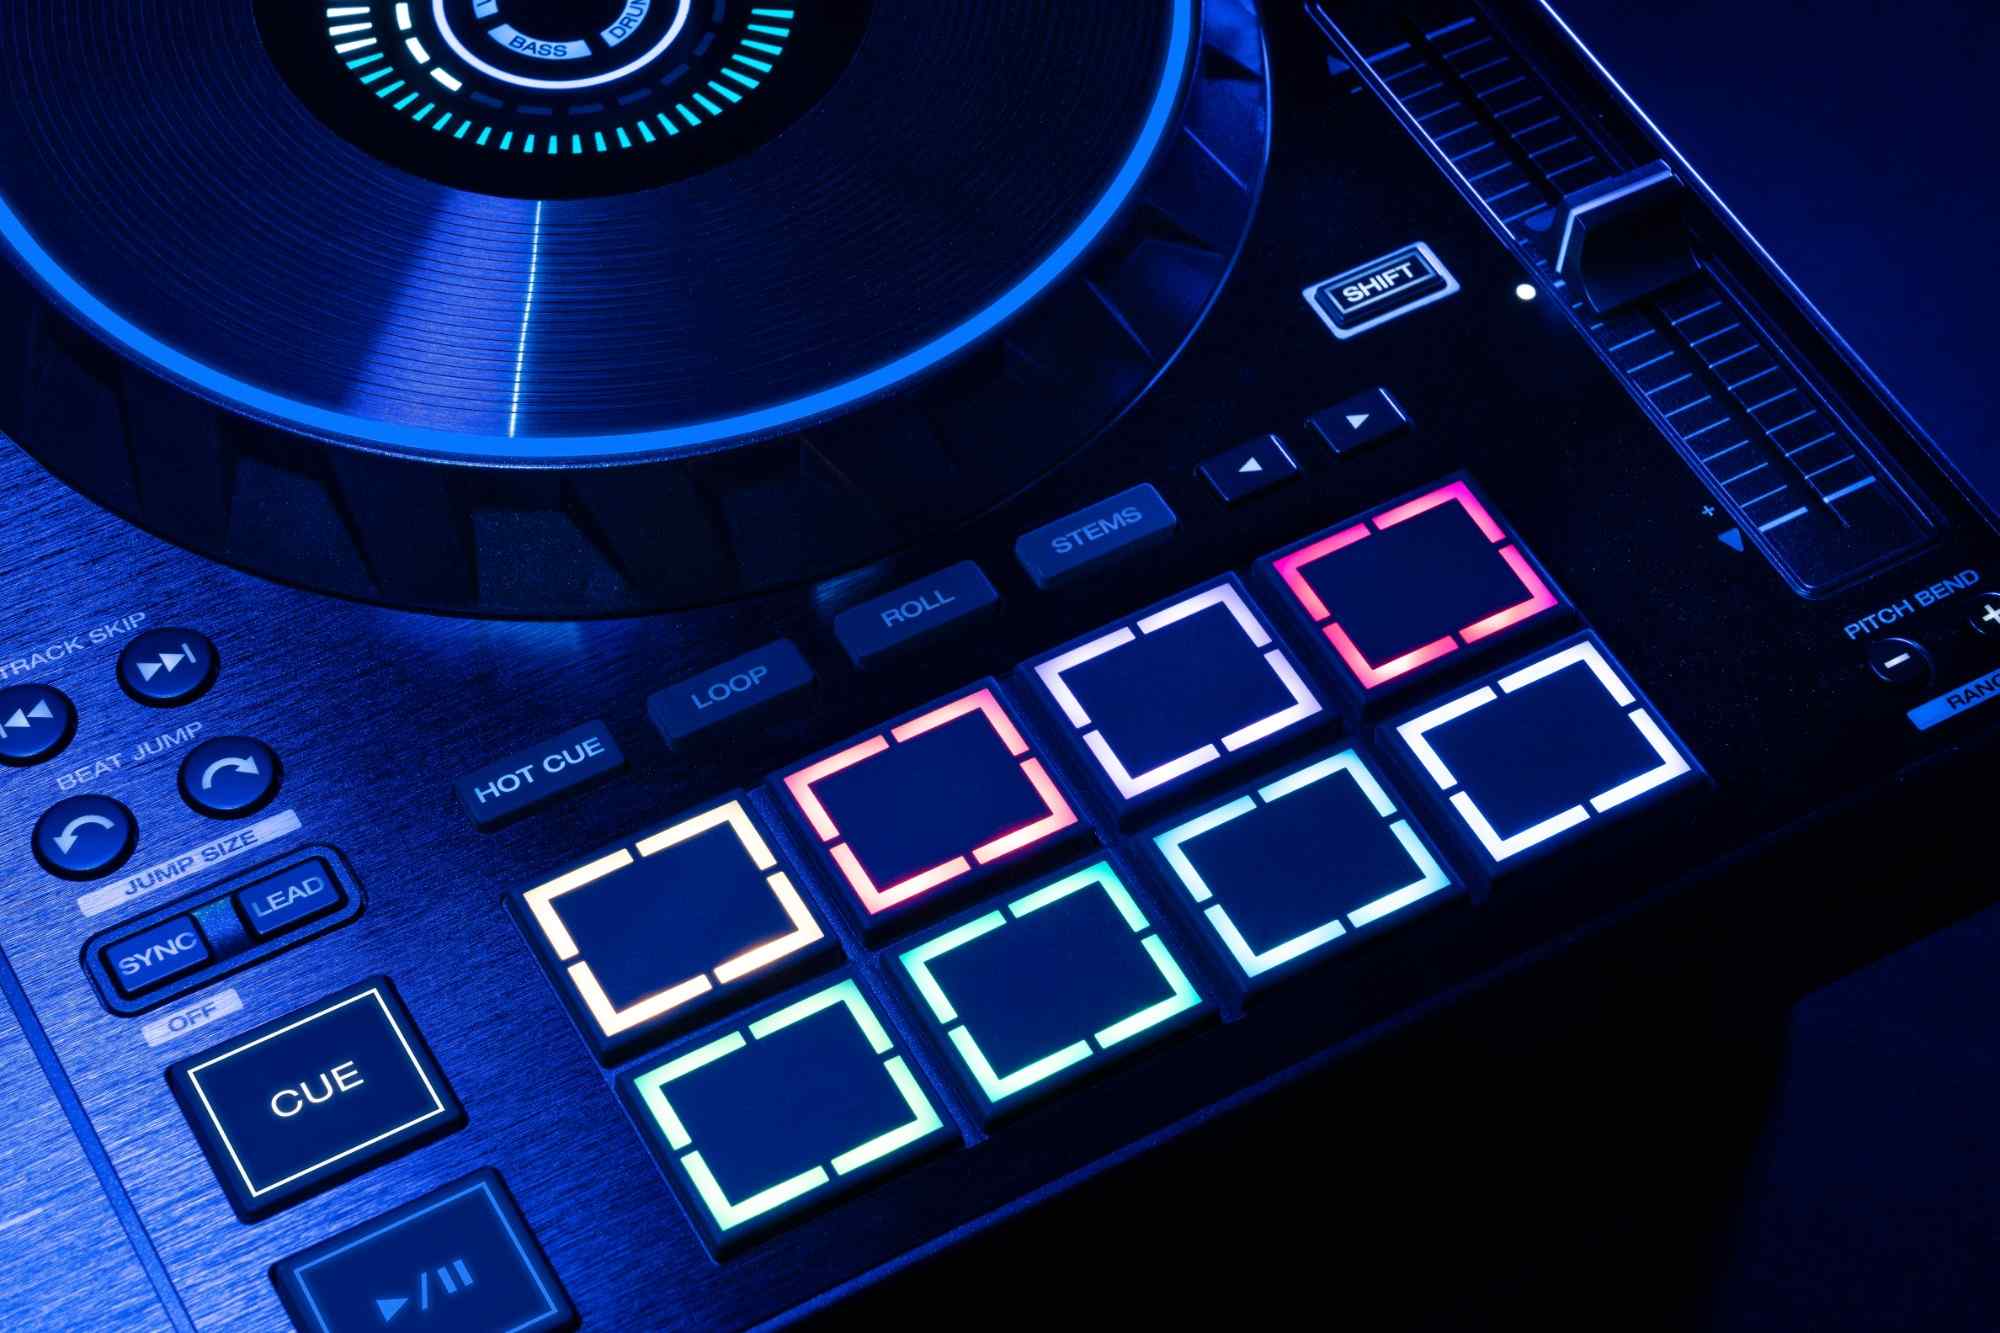
The hardware introduces 16 new-generation MPCe pads. These pads feature velocity sensitivity, pressure sensitivity, and three-dimensional detection technology (X and Y axes), transforming the surface into an advanced gesture controller.
- Press the Hot Cue button to assign and trigger location points. Apply continuous pressure on the pad to modify the RGB backlight intensity or alter secondary parameters assigned in the settings menu.
- Activate Loop or Roll mode by pressing their respective mode buttons. Slide your finger vertically on the pad (Y-axis) to alter the loop beat fraction in real-time without needing to use the auto-loop encoder.
- Press the Sampler button to access the 16-slot sample bank. Strike the pads with different levels of force; velocity sensitivity will determine the output volume of each audio sample.
- Configure the pads in XY FX mode from the touchscreen so that sliding your finger across the rubber surface assigns filter sweeps or modulation alterations to the track currently playing.
Track Isolation with Integrated Stems
The PRIME 4 G2 processor allows for rendering and playing Stems files directly from flash memory or USB drives, separating the audio file into four independent stems without relying on a laptop.
- Load a track into any of the four decks by swiping the song to the right on the touchscreen or pressing the navigation encoder.
- For drastic and immediate isolation, press the physical Instant Acapella or Instant Instrumental buttons located above the pad section. The system will silence the musical backing or the voice in milliseconds.
- For granular control, press and hold the mode button assigned to Stems. The four bottom pads will light up representing the Vocal, Melody, Bass, and Drums stems.
- Press a specific pad to Mute that element, or hold the Shift button along with the pad to Solo it.
- Activate the Stem Level EQ function from the touchscreen. This will reassign that channel's EQ knobs (High, Mid, Low) to control the individual volume of the voice, melody, and rhythm section, allowing for progressive mixes.
- Apply the Stem Echo-Out effect by pressing the pad corresponding to the voice and the effect button simultaneously. This will generate a delay tail exclusive to the vocal track while the instruments continue playing dry.
Effects Management: Main FX, Touch FX, and Fader FX
The signal processing workflow is divided into four distinct modules, offering exhaustive control over audio manipulation.
- Operate the Main FX using the dedicated OLED screens located above each pair of channels. Turn the Select encoder to choose the algorithm, adjust parameters with the Time and Parameter knobs, and trigger the effect by lowering the Toggle Switches.
- Activate the Touch FX interface by swiping the waveform view to the left on the 10.1-inch screen. Touch and drag your finger across the on-screen X/Y grid to apply complex combinations of filters and delays with a single movement.
- Apply Sweep FX by selecting one of the four central buttons (Filter, Echo, Wash, Noise) and turning the large knob located below each channel's EQ section.
- Use the new Fader FX function by pressing the enable button located next to the dual-rail channel faders. By moving the volume fader up or down, you will automatically control the depth of the assigned effect, allowing you to execute drops and transitions with one hand.
Native DMX Lighting Control
The system integrates a hardware interface for lighting control, eliminating the need to use external USB dongles or third-party software on a computer.
- Connect a standard DMX cable from the DMX Out port on the rear panel directly to your first light or lighting interface.
- Swipe down on the main screen to access the control center and open the Engine Lighting module.
- Select Basic mode if you want the system to analyze the track beatgrid and generate an automatic light show synchronized to the tempo.
- Select Pro mode if you have previously exported a custom project from the SoundSwitch desktop software.
- Assign override functions to the MPCe pads to trigger strobes, change color palettes, or activate smoke machines manually by hitting the pads during the performance.
- Link smart home lighting systems by accessing pairing options for Philips Hue and Nanoleaf devices via the same Wi-Fi network.
Zone Output and Jog Wheel Configuration
The Zone function allows you to output a completely different audio signal to a second room, turning the unit into a dual routing matrix. Additionally, monitoring of the main track is supported by the new information-display motorized platters.
- To activate the second room, press and hold a playlist in the library and select the Send to Zone option in the pop-up menu.
- The system will automatically reserve Channel 4 (or another assignable channel) to play the list in continuous mode with automatic crossfades to the Zone Out ports.
- Adjust the volume and EQ the frequencies of the second room using the Zone Level and Zone EQ hardware knobs located in the top right corner of the chassis.
- Monitor the status of the main decks by observing the central high-resolution screens integrated into the 8-inch Jog Wheels. These screens will show you the album art, playhead position, active Stems data, and Hot Cue proximity warnings.
OmniSource and Bluetooth Integration
The OmniSource architecture is designed to unify the standalone hardware ecosystem with mobile devices and desktop software in a single mixing session.
- Activate the Bluetooth receiver in the quick settings menu and pair your smartphone or tablet.
- Assign the incoming wireless signal to the Bluetooth Deck. This will allow you to apply EQ, filters, and Main FX to the audio from your mobile phone as if it were a local file.
- Connect your laptop to the USB Type-C (Computer/Media) port located on the rear panel using a high-speed data cable.
- Tap the computer mode icon on the touchscreen to switch the system. You will be able to control third-party software applications (such as Serato DJ Pro, VirtualDJ, or Algoriddim djay) on two channels, while playing audio from a USB thumb drive on the other two channels simultaneously.
System Pros and Cons
Analyze the technical capabilities of the equipment to determine its viability in your professional workflow.
- Pro: Native real-time Stems processing with no perceptible latency thanks to the 8-core CPU.
- Pro: Revolutionary MPCe pads that add 3D gesture control and pressure sensitivity, expanding expressive possibilities.
- Pro: Integrated DMX output, completely eliminating the need to carry a laptop and additional dongles to control lighting.
- Pro: OmniSource workflow that allows mixing from USB, SATA SSD, Wi-Fi, Bluetooth, and software in the same session.
- Con: The dimensions and weight of the metal chassis require a large flight case, making transport difficult for mobile DJs with limited space.
- Con: High-quality Stems rendering is CPU-intensive, requiring strict maintenance of firmware updates to avoid system crashes.
- Con: The retail price positions it in the highest premium segment, posing a barrier to entry for intermediate users.
Perspective: The Future of the Standalone Ecosystem
The architecture of the Denon DJ PRIME 4 G2 consolidates the definitive abandonment of the laptop in open-format booths and professional events. By delegating track separation, DMX protocol control, and multi-room management (Zone Out) directly to the internal processor, the Engine DJ operating system demonstrates unprecedented technical maturity. The implementation of MPCe pads transforms the control surface from a simple binary trigger matrix into a continuous performance instrument, demanding a new tactile learning curve. For professionals who require an absolute command center that unifies audio, lighting, and multi-platform routing, this hardware sets the new standard for the music technology industry.