
Architectural Introduction to reFX Rippler
The reFX Rippler represents a massive evolutionary leap in contemporary sound design, consolidating cutting-edge physical modeling with the punch of classic subtractive synthesis. Based on the original architecture developed by Tiagolr, this commercial iteration drastically expands the audio engine's capabilities by introducing oscillators with Wavefolding and dual multimode filters. As a producer or sound designer, this instrument allows you to sculpt everything from organic percussion and hyper-realistic strings to complex cinematic textures that defy the laws of traditional acoustics. This official guide will provide you with the technical knowledge necessary to master every module of this powerful synthesizer, optimizing your workflow in the studio.
Fundamental Concepts: The Physics of Sound
Before operating the controls, it is imperative to understand how the reFX Rippler generates sound. Unlike a wavetable synthesizer that plays back a pre-recorded audio cycle, physical modeling calculates mathematical equations in real-time that simulate the behavior of real materials. The process is divided into two critical stages: excitation and resonance. The exciter is the initial force (a strike, a rub, or a breath), while the resonator is the physical body that vibrates in response to that force (a drum membrane, a metal tube, or a glass plate). Mastering the interaction between these two elements is the key to unleashing the true potential of the instrument.
Step 1: Configuring the Exciter Section
The heart of physical modeling lies in how the sound's transient is initiated. The Rippler features two main exciters designed to simulate the initial impact on a physical object with pinpoint precision. Follow these steps to configure your impact source:
- Select the Mallet module to simulate direct physical strikes. Adjust the Stiffness knob to define the hardness of the mallet material. High values emulate metal or hardwood impacts, producing sharp harmonics, while low values emulate felt mallets for soft attacks.
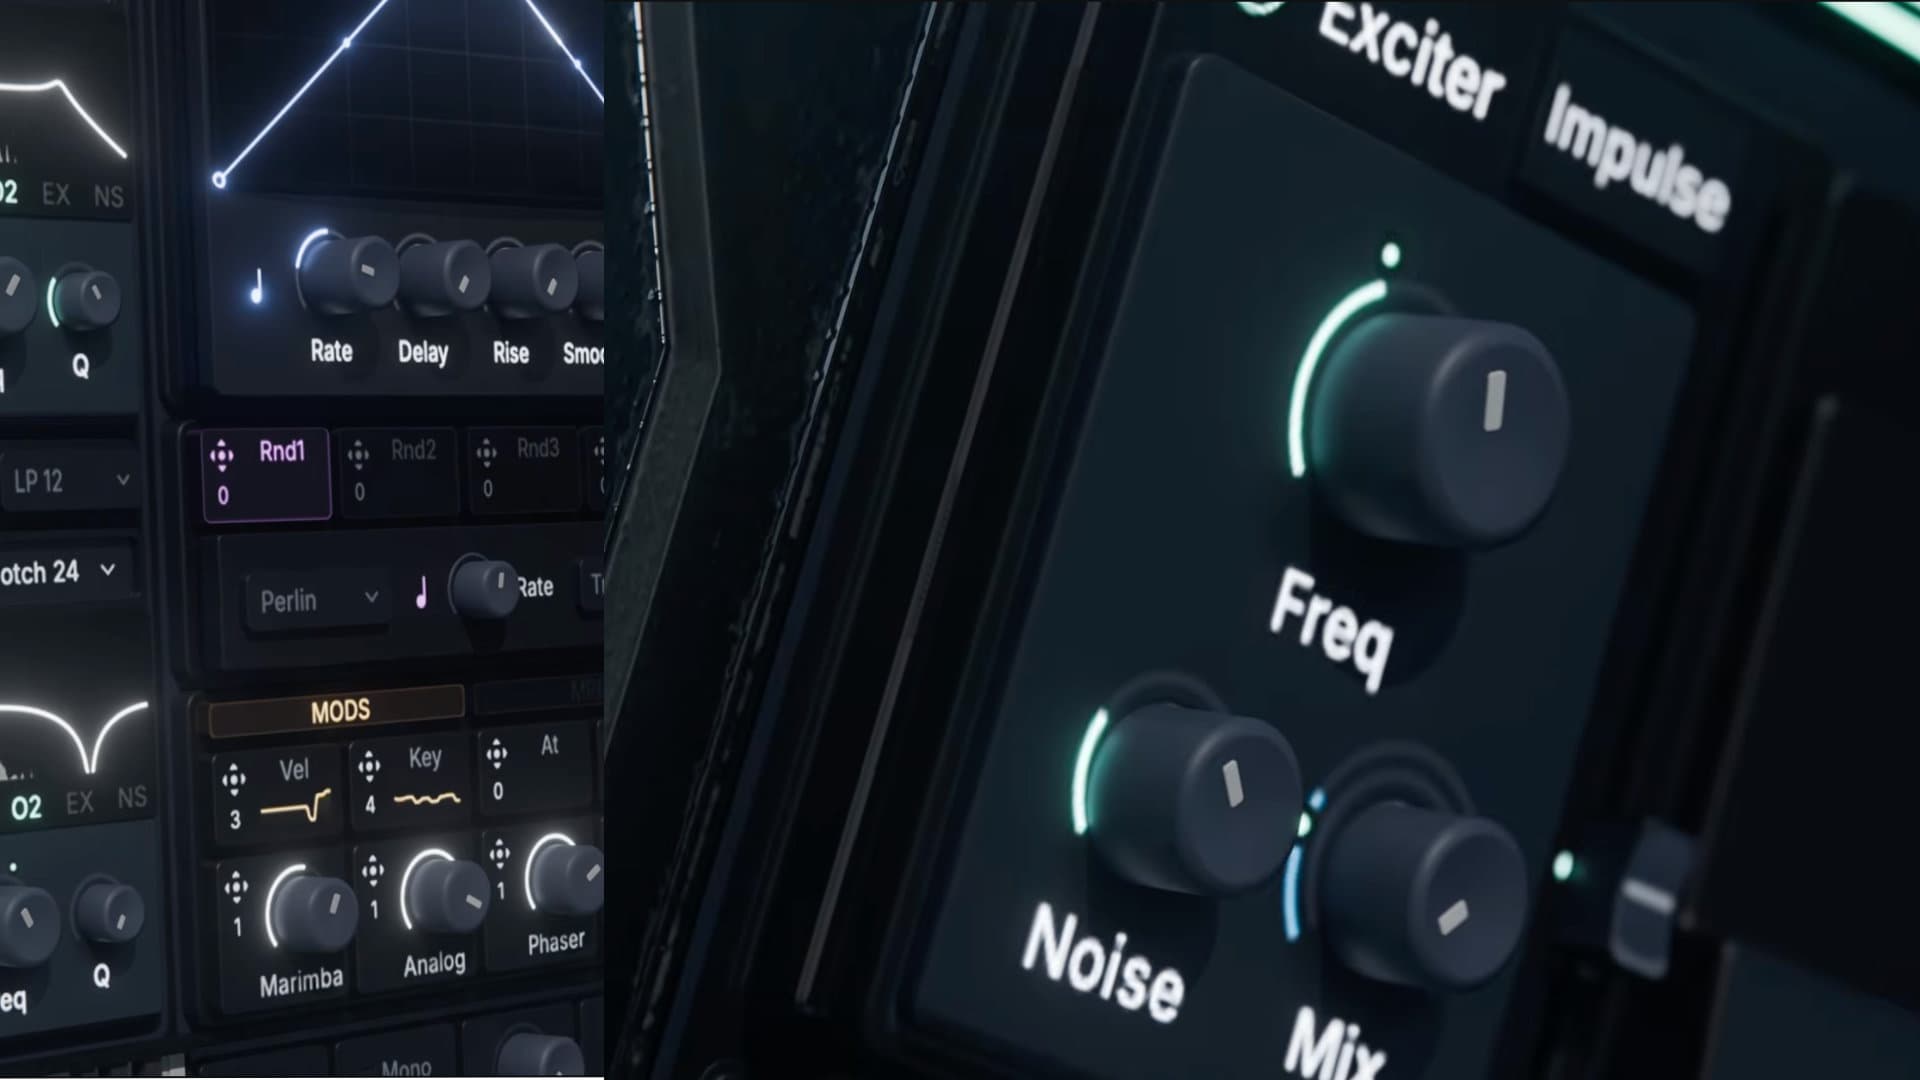
- Use the Mix knob within the exciter panel to balance the brute force of the impact against the overall resonance of the sound body.
- Activate the secondary Noise Generator to add continuous friction. Adjust its internal equalization to emulate bowed instruments (like violins) or wind textures that require a constant airflow.
- Click the Sample Import button within the exciter interface to load your own transients in WAV format. This exclusive feature allows you to use any percussive recording (such as a finger snap or a table tap) as the driving force that will vibrate the virtual resonator.
Step 2: Acoustic Sculpting with Resonators
Once the impact is generated, the acoustic energy must travel through a virtual body. The audio engine offers two independent resonators, capable of calculating up to 64 partials (harmonics) each, ensuring high-fidelity emulations without aliasing.
- Go to the Resonator Editor and choose from the acoustic models available in the dropdown menu. Options include String, Beam, Membrane, Plate, Marimba, Open Tube, and Closed Tube.
- Adjust the Material slider to alter the density and damping properties of the virtual object. A high value will shorten the sound tail, simulating absorbent materials, while a low value will allow the vibration to extend as in glass or steel.
- Modify the Inharmonicity control to shift the harmonics from their exact mathematical proportions. This is crucial for creating realistic metallic timbres, dissonant bells, or rusted metals.
- Use the Tone control to tilt the frequency spectrum of the resonator, darkening or brightening the overall character without the need for an external equalizer.
- Configure the Routing Mode in the central section of the interface. Select Parallel so that both resonators sound simultaneously, summing their characteristics, or choose Serial so that the audio output of the first resonator physically excites the second, generating extremely complex and unpredictable acoustic textures.
Step 3: Integration of Subtractive Synthesis and Wavefolding
The most significant innovation of the commercial version of reFX Rippler is the addition of heavy subtractive tools. Pure acoustic instruments often lack the necessary weight in the sub-bass for modern club music. This is where the new electronic modules come into play.
- Activate the two Wavefolding Oscillators from the top-left panel. These waveform generators act like traditional analog synthesizers.
- Slowly increase the Fold parameter to fold the waveform onto itself. This introduces aggressive harmonic saturation, ideal for techno basses or piercing leads.
- Route the output of these oscillators into the Dual Multimode Filters to sculpt the tone.
- Select the appropriate filter type (Lowpass, Highpass, or Bandpass) and adjust the Cutoff and Resonance. Use this to tame the strident frequencies generated by excessive wavefolding.
- Use the Flexible Routing panel to decide the signal flow. You can send the synthetic oscillators directly through the physical resonators so that the filter acts as a massive exciter, or you can mix them at the end of the signal chain (Post-Resonator) to keep their electronic punch unaltered.
Step 4: Dynamic Modulation and Expressive Control
For a physical modeling instrument to sound organic and convincing, it requires constant movement and minuscule variations in every articulation. The synthesizer's matrix modulation system is exhaustive and highly visual.
- Assign one of the four ADSR-type Envelopes to the resonator's Tone or Material parameter. This ensures that the brightness and resonance decay naturally over time, emulating the energy loss of a real object.
- Access the tab for the four Drawable LFOs. Click directly on the LFO screen and draw your own rhythmic or stepped modulation curve. Assign this custom LFO to the filter Cutoff or the exciter Stiffness knob to create complex pulsing sequences.
- Activate the four Randomizers and connect them to critical parameters like Inharmonicity or the oscillator Pitch with a very subtle modulation depth (between 1% and 3%). This drastically humanizes every keyboard strike, ensuring that no note sounds mathematically identical to the previous one.
- Configure the Velocity and Aftertouch response in the lower modulation matrix. Map velocity to the exciter Mix knob to control the intensity of the physical impact according to the force with which you play your MIDI controller.
- Map the controls that require frequent automation to the 8 Macros located on the front interface. This will allow you to control multiple parameters simultaneously from your DAW with a single knob.
Step 5: Final Processing with Multi-FX
The final touch to seat the sound in the stereo mix is performed in the integrated effects section, specifically designed to complement and expand the organic frequencies generated by the physical resonators.
- Navigate to the Multi-FX Processor tab located in the lower section of the graphical interface.
- Activate the algorithmic Reverb module. Adjust the Decay Time and Pre-Delay to place your virtual instrument in a realistic three-dimensional acoustic space, from an intimate wooden booth to a massive concert hall.
- Insert a Delay and sync it to your project's tempo (BPM). Apply it to short percussive sounds (like marimba emulations or taut membranes) to create polyrhythms and immersive rhythmic textures.
- Use the output parametric EQ module to apply a high-pass filter. This is vital to trim muddy sub-bass frequencies that often accumulate unpredictably when using multiple resonators in Serial configuration.
Optimal Configuration Tricks and Studio Integration
Maximizing system performance and creativity with the reFX Rippler requires understanding how this tool fits into the ecosystem of a modern electronic production.
- For high-impact cinematic sound design, load a raw foley sample (such as the sound of breaking glass or falling metal chains) into the exciter's Sample Import. Pass this signal through a Plate-type resonator with the Material parameter at maximum to create terrifying industrial drones.
- If you are looking for punchy bass for genres like Drum & Bass or Techno, use the Wavefolding Oscillators to generate the fundamental sub-frequency and use the physical modeling section only to synthesize the initial attack transient (the bass 'click').
- Save your favorite resonator configurations using the Customizable Resonator Editor. This allows you to build a personal library of unique 'acoustic bodies' that you can instantly load in future production sessions.
- Maintain strict monitoring of CPU usage. Calculating up to 64 partials per resonator in real-time is mathematically demanding. If you experience 'glitches' or audio dropouts, access the global Settings panel and reduce the maximum number of polyphonic voices, or temporarily deactivate the second resonator during the composition phase.
Perspective: Final Technical Analysis
The reFX Rippler establishes itself as an audiophile-grade tool indispensable for producers and sound designers who are urgently looking to escape the conventional timbres of wavetable synthesis. By integrating traditional subtractive oscillators with advanced acoustic modeling engines, it solves the historical problem of classic physical synthesizers, which often lacked the weight, saturation, and massive presence required in the low end of dance floor electronic music.
- Operational Advantage: The inclusion of the Sample Import function in the exciter destroys the limitations of standard noise generators, opening truly infinite possibilities for custom sound design and foley manipulation.
- Workflow Advantage: The unified interface with 8 pre-assignable Macros facilitates expressive live control and rapid automation without the need to dive into complex submenus during a creative session.
- Design Advantage: The extremely flexible routing between Serial and Parallel modes allows for the creation of hybrid instruments that are acoustically impossible in the physical world.
- Technical Disadvantage: The inherent complexity of precisely adjusting esoteric mathematical parameters like Inharmonicity and the ratio of physical models requires a steep learning curve for users accustomed only to the workflow of basic subtractive synthesis.
- Hardware Disadvantage: The extremely high partial count and complex real-time differential equation models can be overwhelmingly demanding for processors and computers of previous generations.